Designing a beautiful layout
![]() A professional layout is important to appear trustworthy in order to win the confidence of your customers. EasyWebshop makes it easy to choose and personalize a layout yourself. No need for an expensive web designer.
A professional layout is important to appear trustworthy in order to win the confidence of your customers. EasyWebshop makes it easy to choose and personalize a layout yourself. No need for an expensive web designer.
Changing the layout has no impact on the operation of the webshop. Any change can be undone or modified later. So take your time to experiment with colors, images and fonts to obtain the desired result.
Add about 10 products before experimenting with the layout and configuration.
If you don't want to experiment with the layout in your live webshop, you can create a new free webshop using Multishop for experimenting.
Layout management
Navigate to Settings > Layout. Below we explain how each tab works.

Templates, Themes and Designs
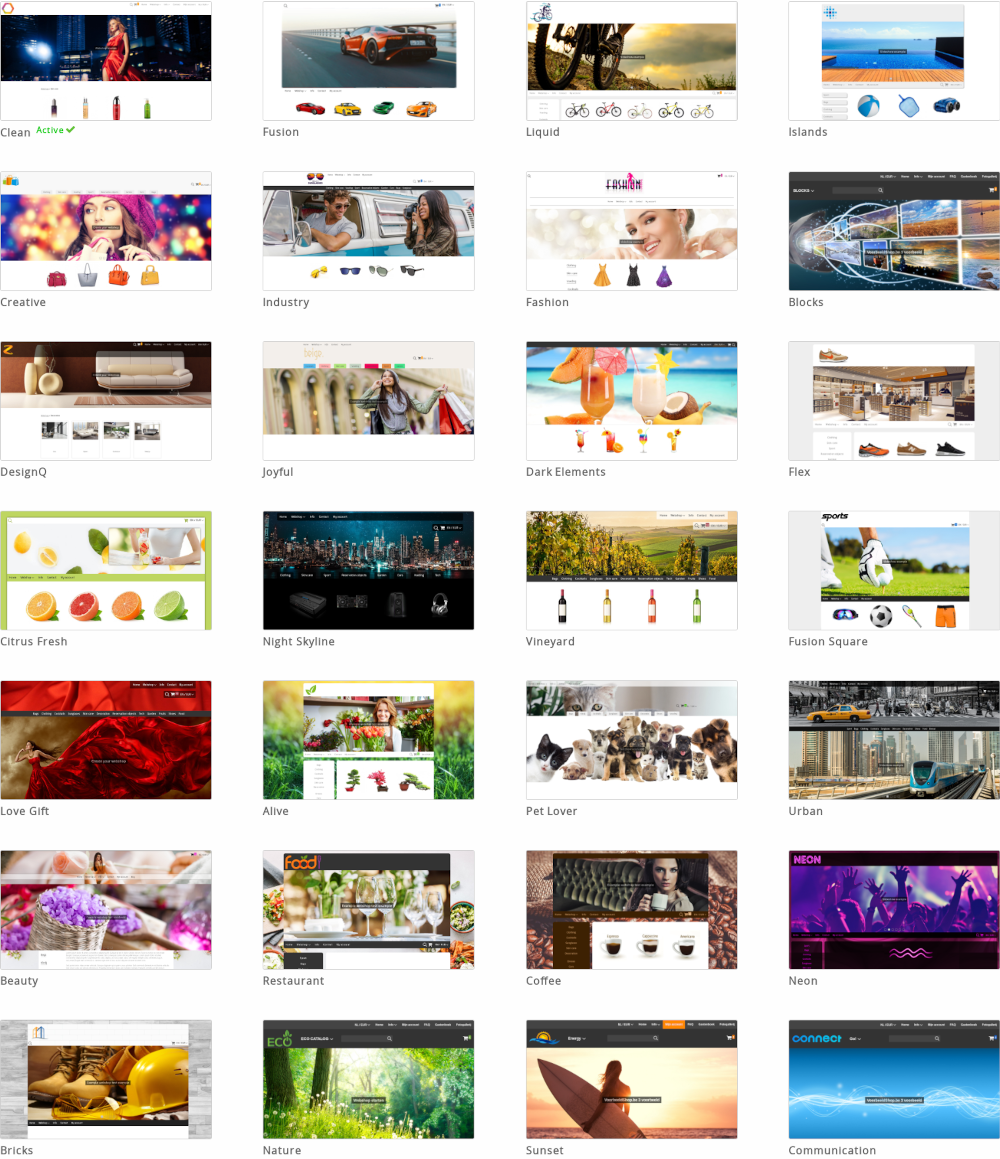
Templates are basic designs that are first in the list and do not include colors. They are suitable for business websites where the focus is on the products.
Themes are based on a template and are further refined with color combinations and backgrounds. They are suitable for websites where the design needs to be attractive.
Designs are templates or themes that are personalized by you, the user, using the designer. This method is suitable for users who want to personalize the details of their website.
All templates and themes are mobile-friendly and optimized for fast load times and optimal indexing in search engines.
Choose one of the templates or themes and click Example to view an example. This example is not visible to your visitors.
Click Publish to set the template or theme for your website. It will now be live for your visitors.
Logo
![]()
Under the Logo tab you can upload a (company) logo by selecting it and clicking Save.
If you don't have a logo yet, you can have it designed by a logo designer. At EasyWebshop we do not design logos. An interesting website to have a logo designed is 99designs.
Adjusting the logo dimensions after uploading
- Scale
- This is the default setting: the logo will be proportionally scaled down to maximum of 300x100 pixels.
- Crop
- This will cut off the part of the logo that is too large.
- No changes
- No modifications will be made to the logo after uploading. Choose this option if you have the logo at the correct size yourself.
- .ico
- A standard favicon has the dimensions 16x16, 32x32 or 64x64 pixels, and contains 16 colors. The file size is a maximum of 150Kb.
- .png
- The recommended dimensions for a .png favicon are 196x196 pixels.
- .svg
- For higher resolutions, SVG favicons can be used. Please note that not all devices support SVG favicons.
- The W3Schools website has a color picker for easy color selection
- Learn more about HTML/CSS color coding
- Color Designer - easily generate color palettes
- Color Combos - create color combinations
- Keep it simple
- Your customers do not purchase a product depending on the layout of the website. A simple functional layout will perform better than a busy layout with lots of unnecessary distractions.
- Stay consistent
- Choose a color palette and keep using the same colors. Use the same font unless you know what you are doing.
- Get inspiration
- There is nothing wrong with watching how others do it. You can find inspiration in our examples.
- Photos bring a website to life
- A recognizable logo, clear product photos and a matching background make your website really come alive.
- Get advice from friends, family and colleagues
- Ask different people what they think of your layout. A beautiful layout is subjective. You will see that there are many conflicting opinions.
- Provide adequate contrast, avoid style errors
Some common mistakes:- Text with low contrast
- Text that is irritating to read
- Large blocks of text in italics are difficult to read
- USING CAPITAL LETTERS ONLINE REPRESENTS SCREAMING
- Avoid repeating punctuation!!!
- My texts are gone!
- The text color is set to the same value as the background color.
- The favicon is not displayed
- Use a recent browser. In some old versions of Internet Explorer no favicon is displayed.
Also connect a domain name to your shop. Some browsers display the favicon of EasyWebshop if no domain name is connected.
We recommend not making logos too large. This makes it difficult for visitors with smartphones. If the logo is too wide, a horizontal scroll bar will appear. If the logo is too tall, more scrolling will have to be done vertically.
The default setting of 300x100 pixels is ok in most situations. With some themes it is better to make the logo larger or smaller.
The maximum size of the logo is 25MB. The possible file formats are .gif, .jpg, .png and .svg. For transparent logos, use the PNG or SVG format. GIF animations are possible, but we don't recommend using them as logos.
Browser icon
The browser icon or Favicon is an icon associated with your website. You can have it designed by your logo designer.

For maximum compatibility with all types of devices, it's recommended to upload a .ico, .png and .svg version.
It's possible that the browser icon not immediately changes after updating it in layout management. This is because of browser caches. This issue fixes itself after a while when the cache clears. You can also manually clear the browser cache or visit the website with a device you didn't use before.
Colors
The colors interface extracts all the colors from the chosen theme and provides an easy way to change them. The Edit CSS button is an expert feature which provides further options to fine-tune the layout by changing the CSS code.
Some useful links:
After making changes, click the Save button below.
Images
If images are present in the theme, they will be listed here. Click the Edit image icon to update the image. With the designer (see next page) you can add more images.
After making changes, click the Save button below.
If the image doesn't change on the website, this is usually because the old photos are still in the cache of the web browser. A web browser (Firefox, Google Chrome, ...) saves web pages and images on your hard disk. This way, on your next visit, the page will load faster. When you visit the page, you will see the old version of the photo on your hard drive and not the live version on your website.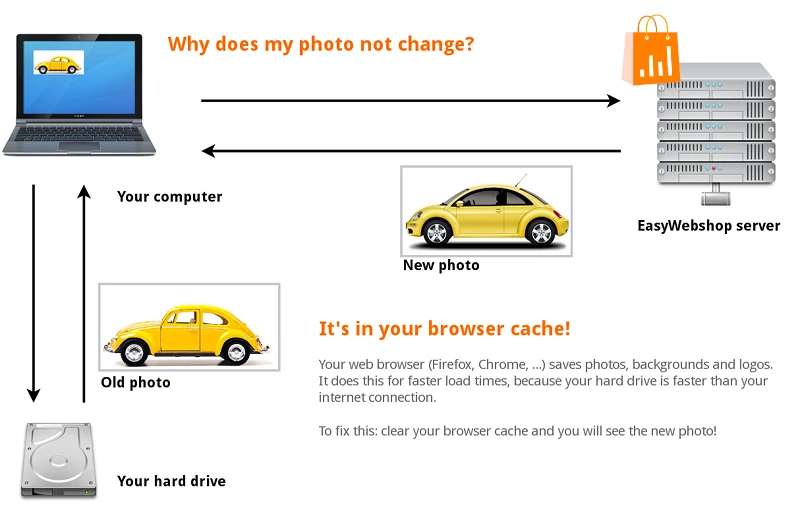
To solve this: navigate to the shop page and click Refresh page or Reload page.
You can also use the shortcut keys: F5 or CTRL + R (Command + R on Mac). The most recent version of the web page is now loaded.
In some web browsers you will have to manually clear the cache in the settings of the web browser. Where to find this depends on the web browser. Consult the help feature of your web browser for this. It's out of the scope of this wiki.
Font type
This interface allows you to change the main font type on your website. Simply choose a font and click the Save button below.
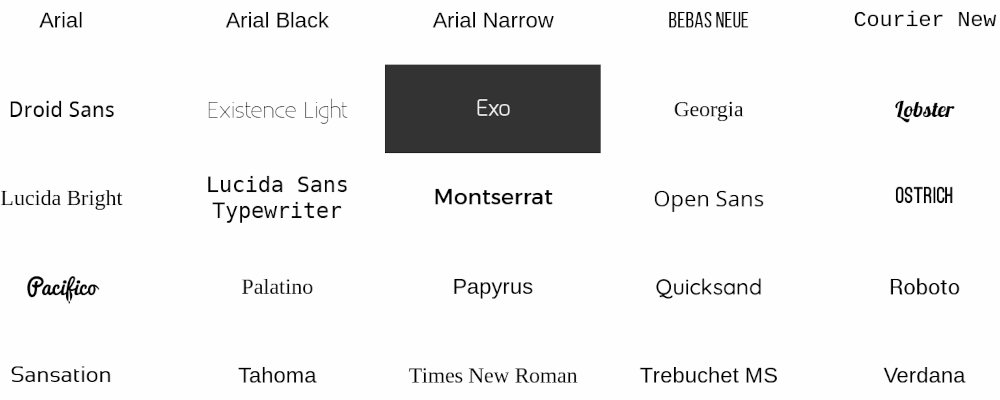
It's recommended to not mix different font types on the same page.
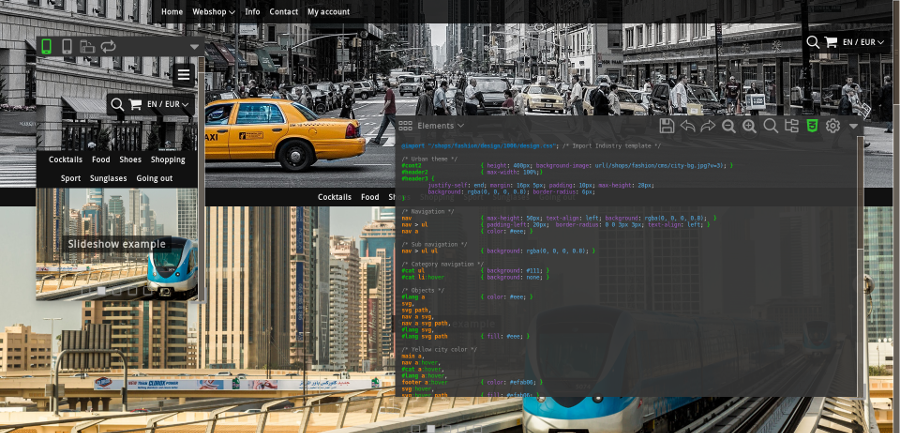
Designer
With the designer, the chosen template or theme can be personalized. The designer offers a lot of possibilities to personalize and is therefore less easy to use than standard layout management. The next page describes the functions of the designer.
Tips to design a beautiful layout yourself
Hiring a web designer for your website
![]() With the built-in designer you can personalize you layout yourself. There are plenty of options so you can distinguish your shop from other websites. This is the easiest and least expensive option.
With the built-in designer you can personalize you layout yourself. There are plenty of options so you can distinguish your shop from other websites. This is the easiest and least expensive option.
If you don't achieve the desired result, you can ask a web designer to build a custom made layout. When looking for a web designer, please note that there are unfortunately many uneducated web designers on the internet. Ask for references and check the references also by contacting them.
Some web designers will coerce you to switch to other webshop software for a layout design, which is unnecessary. They usually do this because they receive a commission for selling you this other application. Make the comparison between EasyWebshop and the other platform. We generally provide a lot more features for a better price.
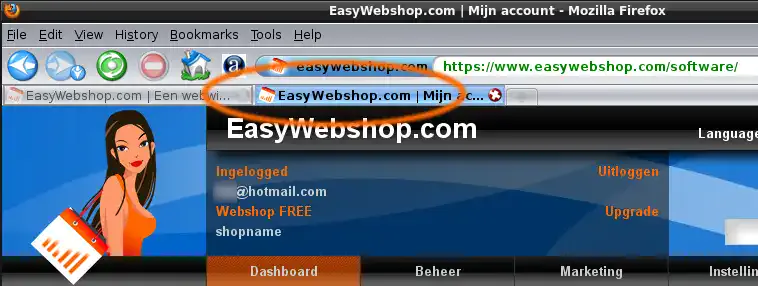
Browser tabs makes switching tasks easier
Create two tabs in your browser: a tab with these instructions and a tab where you will manage your shop. This way you can easily switch from one tab to another and navigate faster. If you print this documentation, this is of course not applicable. You can then look at the paper followed by looking at your screen. Yes, this was an insult to your intellect!
Press CTRL + T (or choose File > New Tab) to open a new tab in your browser. In the new tab, navigate to our website: easywebshop.com.
After you have changed something in the backend, navigate to the tab of your website and press Reload page, Refresh page or F5 to see the latest update.
Frequently Asked Questions about the layout
Next page: Designer
- Introduction
- Product management
- Online store configuration
- Account and shop settings
- Payment methods and Payment Service Providers
- Invoices and Terms & Conditions
- Setting shipping costs
- Discounts and surcharges
- Registering and transferring domain names
- Multilingual shop
- Connecting to external platforms
- Personalized web addresses
- Managing multiple webshops (Multishop)
- Automatic emails to customers
- Designing a beautiful layout
- Order management
- Marketing
- Modules
- Backups and exporting data
- Email and web mail
- Administrator accounts
- High quality photos
- Two-factor authentication
- Labels
- META tags - Website verification
- Live chat
- Slideshow
- Visitor analysis - Google Analytics
- Filters
- Point Of Sale (POS)
- Form fields
- Digital or virtual products
- Symcalia reservation system
- Guestbook
- Contacting the helpdesk